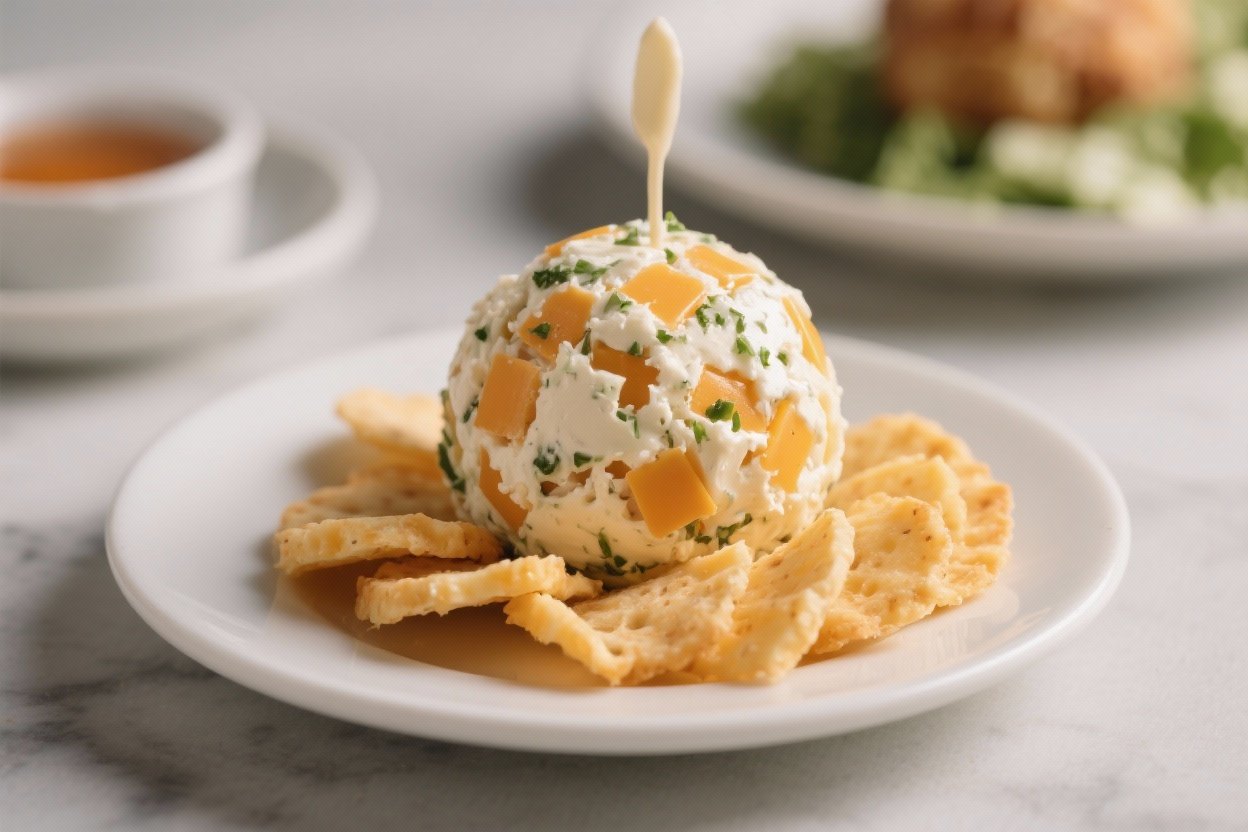
The Ultimate Guide to Creating Cheese Balls for Any Occasion
A cheese ball is one of those timeless party starters that never goes out of style. It’s creamy, tangy, and customizable, and it looks impressive without being fussy. You can make it ahead, roll it in something crunchy, and set it out with crackers or veggies for instant snacking.
It’s the kind of recipe that wins over picky eaters and food lovers alike. Best of all, it takes just minutes to mix together, and you probably have most of the ingredients on hand.
What Makes This Recipe So Good
- Quick prep, big payoff: You only need a bowl, a spoon, and 15 minutes to get it mixed and shaped.
- Perfect make-ahead appetizer: It actually tastes better after chilling, so it’s ideal for stress-free hosting.
- Creamy and tangy balance: Cream cheese, sharp cheddar, and a touch of Worcestershire make it rich but not heavy.
- Endlessly customizable: Switch up the coatings and mix-ins to match the season or your guests’ preferences.
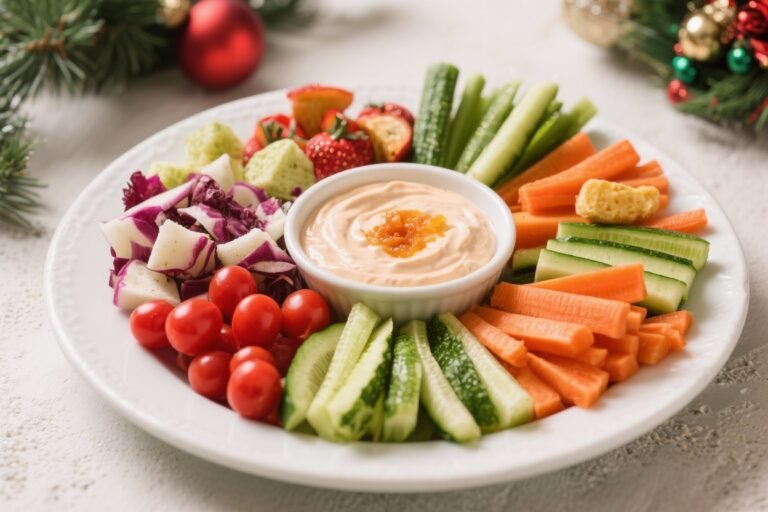
- Feeds a crowd: One cheese ball goes a long way with crackers, pita chips, or cut veggies.
Shopping List
- 2 blocks (16 ounces total) cream cheese, softened
- 2 cups shredded sharp cheddar cheese
- 1/4 cup finely chopped green onions or chives
- 2 tablespoons Worcestershire sauce
- 1 teaspoon garlic powder
- 1/2 teaspoon onion powder
- 1/2 teaspoon smoked paprika (optional but tasty)
- 1/2 teaspoon kosher salt, plus more to taste
- 1/4 teaspoon black pepper
- 1/2 cup chopped toasted pecans or walnuts (for coating)
- 1/3 cup finely chopped fresh parsley (for coating)
- Optional mix-ins: 1/4 cup diced roasted red peppers, 2 tablespoons crumbled cooked bacon, or a few dashes hot sauce
- Crackers, pita chips, pretzels, or sliced veggies for serving
Step-by-Step Instructions
- Soften the cream cheese: Remove it from the fridge 30 to 45 minutes before mixing. It should be soft enough to easily blend with a spoon or spatula.
- Mix the base: In a large bowl, combine cream cheese, shredded cheddar, green onions, Worcestershire sauce, garlic powder, onion powder, smoked paprika, salt, and pepper.
Stir until smooth and evenly mixed. Taste and adjust seasoning.
- Add optional mix-ins: Fold in roasted red peppers, bacon, or hot sauce, if using. Keep the mix-ins small so the ball holds together.
- Chill briefly: Place the mixture in the fridge for 15 to 20 minutes.
Slightly firm cheese is much easier to shape.
- Shape the ball: Lay a piece of plastic wrap on the counter, transfer the mixture to the center, and use the wrap to mold it into a tight ball. Twist the ends to secure.
- Prepare the coating: On a plate, combine chopped toasted nuts and parsley. Press to mix and spread into an even layer.
- Roll to coat: Unwrap the chilled cheese ball and gently roll it in the nut-parsley mixture until completely covered.
Press lightly so the coating sticks.
- Chill to set: Wrap again and refrigerate for at least 1 hour, or up to 24 hours. This helps the flavors meld and the shape hold.
- Serve: Set the cheese ball out 15 minutes before serving so it softens slightly. Plate with crackers, pretzels, pita chips, or veggies.
- Store leftovers: Rewrap tightly and refrigerate.
It keeps well for several days.
Keeping It Fresh
For the best texture and flavor, wrap the cheese ball tightly in plastic wrap, then place it in an airtight container. This prevents fridge odors from seeping in and keeps the coating crisp. It will keep for 4 to 5 days in the refrigerator.
If the coating softens or gets damp, roll it in a fresh layer of chopped nuts or herbs right before serving.
Avoid freezing; the dairy can become grainy, and fresh herbs turn dark. If you need to make it ahead, mix the cheese base up to two days in advance and coat it the day you plan to serve.
Benefits of This Recipe
- Budget-friendly: Uses simple ingredients that serve a lot of people for a low cost per serving.
- Low effort, high reward: Minimal cooking skills required, but it looks party-ready.
- Scales easily: Double the recipe and make two smaller balls for different flavor profiles.
- Flexible for diets: You can make it nut-free, low-carb, or vegetarian with simple swaps.
- Great for holidays and game days: It holds up well on a snack table for a few hours.
What Not to Do
- Don’t skip softening the cream cheese: Cold cream cheese clumps and doesn’t blend evenly.
- Don’t overload wet mix-ins: Too many moist ingredients make the ball loose and hard to shape.
- Don’t coat too early with fresh herbs: Herbs can discolor if they sit too long. Coat the day you serve.
- Don’t forget to taste: Season to your liking before chilling.
It’s harder to adjust once coated.
- Don’t serve it straight from the fridge: Let it warm slightly so it spreads smoothly.
Variations You Can Try
- Classic Ranch: Mix in 1 tablespoon ranch seasoning and chopped dill; roll in crushed butter crackers and chives.
- Everything Bagel: Add 1 tablespoon everything bagel seasoning to the base; roll in more seasoning and sesame seeds. Serve with bagel chips.
- Jalapeño Popper: Fold in diced pickled jalapeños and crumbled bacon; coat with crushed tortilla chips and cilantro.
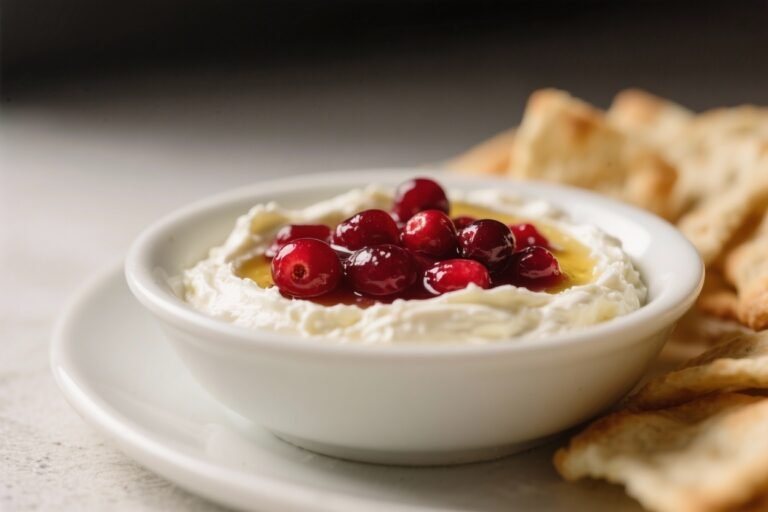
- Cranberry Pecan: Add chopped dried cranberries and a splash of orange zest; roll in toasted pecans and parsley.
- Mediterranean: Mix in chopped sun-dried tomatoes, olives, and oregano; coat with toasted pine nuts and parsley. Serve with pita.
- Blue Cheese Boost: Swap 1/2 cup of the cheddar for crumbled blue cheese; roll in walnuts and cracked black pepper.
- Nut-Free Crunch: Use crushed pretzels, pita chips, or pumpkin seeds instead of nuts for the coating.
FAQ
Can I make a cheese ball without nuts?
Absolutely.
Use crushed pretzels, toasted panko, crispy onions, or everything bagel seasoning for a crunchy, nut-free coating. Herbs alone work too, but mix them with something dry if you want extra texture.
How far in advance can I make it?
You can make the cheese mixture up to 2 days ahead. Shape and coat it the day you plan to serve, then chill for at least 1 hour.
It still tastes great on day two, but the coating is crispiest on day one.
What crackers go best with a cheese ball?
Sturdy, mildly flavored crackers are ideal so they don’t break or overpower the cheese. Butter crackers, wheat crackers, pita chips, and pretzel crisps are all great. Offer a mix plus some sliced cucumbers and celery.
How do I fix a cheese ball that’s too soft?
Chill it for 30 to 45 minutes, then mix in more shredded cheese to firm it up.
You can also add a tablespoon or two of finely ground crackers to absorb extra moisture. Reshape and chill again before coating.
Can I make it spicy?
Yes. Add hot sauce, cayenne, or finely diced jalapeños to the base.
For extra heat, roll the outside in crushed chili flakes mixed with herbs or seeds.
What cheeses work besides cheddar?
Try a blend of Monterey Jack, pepper jack, Gouda, or smoked cheddar. Just keep at least half the mix as a firm, flavorful cheese so the ball holds shape and still tastes sharp enough.
In Conclusion
A classic cheese ball is a reliable, low-stress appetizer that always gets attention. It’s rich, zesty, and easy to personalize with your favorite flavors.
Make it the day before, roll it in something crunchy, and set it out with simple dippers. With a few pantry staples and a handful of minutes, you’ve got a party-ready snack that never disappoints.