The Ultimate Guide to Royal Icing for Gingerbread Houses
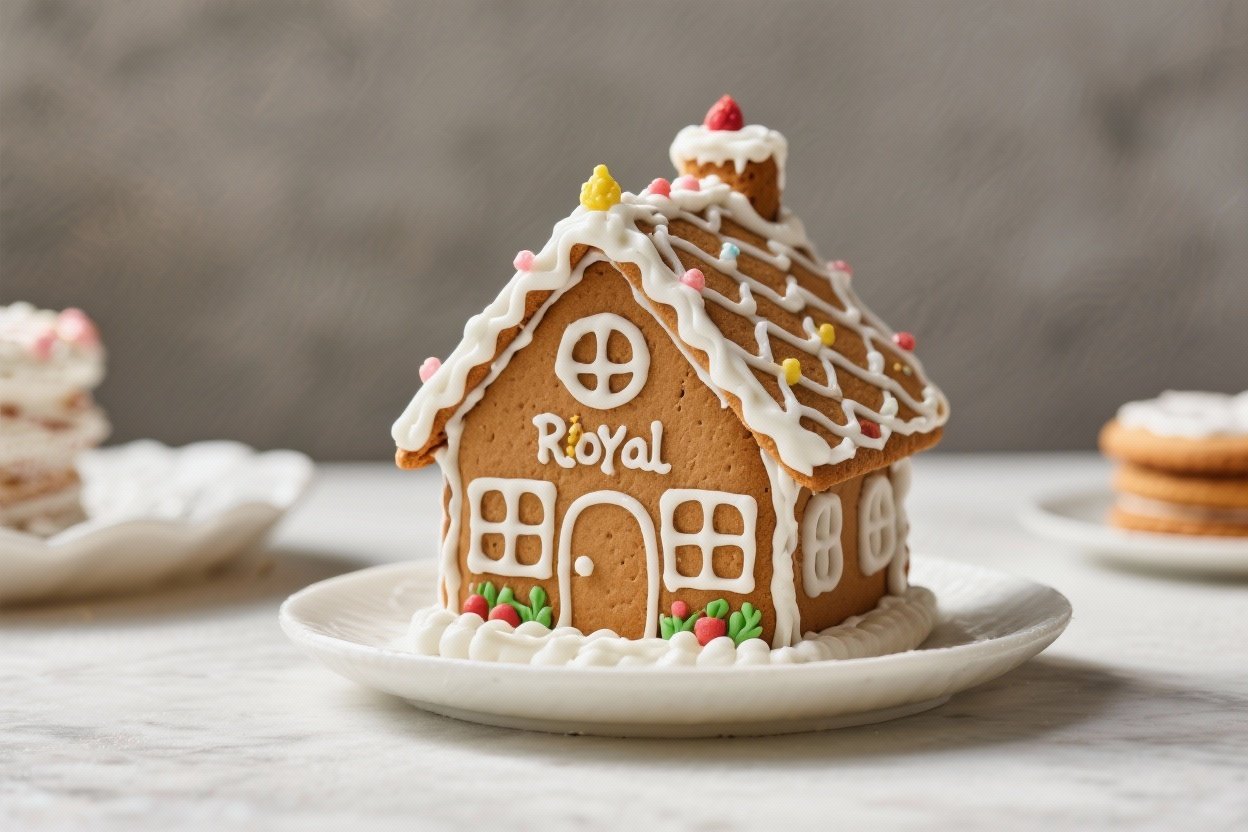
Royal icing is the secret to crisp, clean edges and rock-solid gingerbread houses. If you’ve ever tried to assemble one with regular frosting, you know the frustration of sliding walls and sagging roofs. This icing sets hard, holds strong, and lets you add beautiful, precise details.
It’s simple to make, easy to adjust, and dries to a picture-perfect matte finish. Whether you’re building a big showpiece or decorating small cookies, this is the icing you want.
What Makes This Special
Royal icing is different from buttercream because it hardens as it dries. That makes it ideal for gingerbread house construction and delicate piping.
It’s also customizable: you can make it thick for gluing walls or thin it out for piping lines and flooding. With just a few basic ingredients, you get a sturdy icing that keeps your house standing and your decorations crisp. It’s the small detail that makes a huge difference in holiday bakes.
What You’ll Need
- 4 cups (480 g) powdered sugar, sifted
- 3 tablespoons meringue powder (or 2 large egg whites, room temperature)
- 6–8 tablespoons water, room temperature, plus more as needed
- 1 teaspoon vanilla extract (use clear vanilla for pure white icing; optional)
- 1/2 teaspoon cream of tartar (optional but helps stability if using egg whites)
- Gel food coloring (optional; avoid liquid coloring)
How to Make It

- Prep your bowl and tools. Use a clean, dry mixing bowl.Any grease or oil will keep the icing from whipping properly. Make sure your beaters or whisk are spotless.
- Add dry ingredients. In the bowl, whisk together the sifted powdered sugar and meringue powder. If using egg whites instead of meringue powder, skip the meringue powder and add cream of tartar.
- Start mixing with water. Add 6 tablespoons of water and vanilla (if using).Beat on low until the sugar is moistened and no dry pockets remain.
- Whip to stiff peaks. Increase to medium-high and beat for 4–6 minutes, until the icing is thick, glossy, and forms stiff peaks that don’t slump. If it’s too thick to mix, add water 1 teaspoon at a time.
- Adjust the consistency. For “glue” icing to assemble walls, you want very thick icing—think peanut butter consistency. For piping details, aim for toothpaste-like.For flooding (smooth fills on cookies), thin to honey-like. Add water by the teaspoon to thin; add more sugar to thicken.
- Color if desired. Divide icing into bowls and add gel food coloring a little at a time. Stir well.Keep unused icing covered with plastic wrap touching the surface so it doesn’t crust.
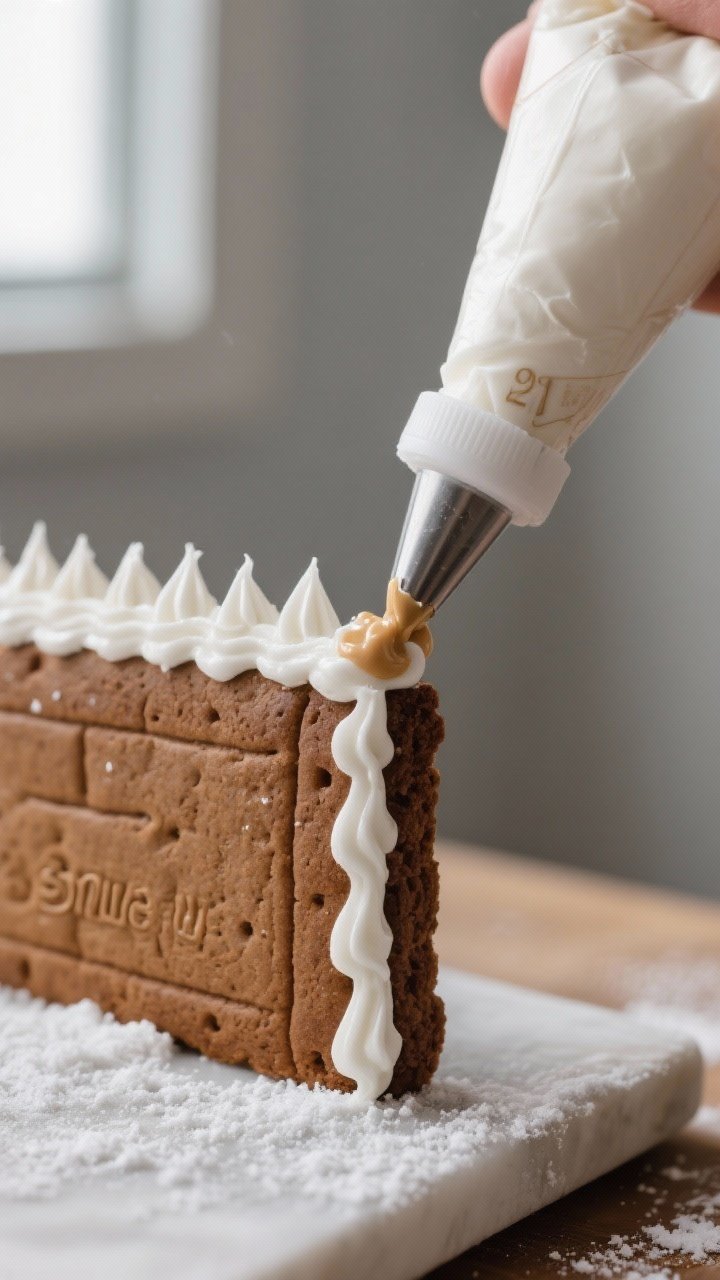
- Load your piping bags. Use a large round tip (like #12) for assembling walls and a small round tip (like #2 or #3) for details. Twist or clip the ends to prevent drying.
- Assemble your house. Pipe a thick line of icing along the edges of each wall. Hold pieces together for 20–30 seconds, then prop them in place and let them set for 15–20 minutes before adding the roof.Full cure happens in a few hours.
- Decorate. Once the structure is stable, pipe details, attach candy, and add snow effects. Work in sections so the icing can set without smudging.
- Let it dry completely. Allow your finished house to dry at room temperature until hard—usually overnight. Avoid humid areas while it sets.
Storage Instructions
- Short-term storage: Keep royal icing covered with plastic wrap pressed to the surface and a tight lid on top.It crusts quickly if exposed to air.
- Room temperature: If made with meringue powder, it can sit at room temp for up to 2 days. Stir well before using.
- Refrigeration: If made with fresh egg whites, refrigerate in an airtight container for up to 3 days. Bring to room temp and re-whip briefly.
- Freezing: You can freeze royal icing (meringue powder version) for up to 2 months.Thaw overnight in the fridge, then bring to room temp and stir.
- Reviving texture: If it’s too thick after storage, add water by the teaspoon. If it’s too thin, sift in more powdered sugar.
Health Benefits
This icing isn’t a health food, but there are a few points worth noting. Using meringue powder instead of raw egg whites reduces food safety concerns, especially important for kids’ projects.
The minimal fat content helps it dry hard without becoming greasy or heavy. Because royal icing is very sweet, a little goes a long way, so you can use it sparingly and still get strong results. If you’re decorating cookies, consider pairing with fiber-rich gingerbread to keep the treat more balanced.
What Not to Do
- Don’t use liquid food coloring. It can thin the icing too much and dull the finish.Use gel or paste colors.
- Don’t skip sifting. Lumps cause clogged tips and uneven texture. Sift powdered sugar before mixing.
- Don’t add oil or butter. Any fat weakens the structure and prevents proper drying. Keep tools grease-free.
- Don’t rush assembly. Give walls time to set before adding heavy pieces like roofs or candy.
- Don’t store uncovered. Exposure to air forms a crust on the surface and ruins the consistency.
- Don’t over-thin. If your icing flows like water, it won’t hold shape.Add sugar to bring it back.
Variations You Can Try
- Lemon royal icing: Replace vanilla with 1 teaspoon lemon juice or extract for a fresh, zesty flavor. Great for cutting the sweetness.
- Almond-scented icing: A few drops of almond extract add a bakery-style aroma. Use clear extract to keep icing bright white.
- Extra-white icing: Add a tiny dot of violet gel color to counter yellow tones.It neutralizes and creates a whiter finish.
- Gingerbread glue mix: Make a super-thick batch and load it in a heavy-duty piping bag. It acts like edible cement for big houses.
- Shiny finish: Add 1 teaspoon light corn syrup for a slightly glossier look on piped details. It stays firm but not as matte.
- Sprinkle-friendly icing: For attaching sprinkles and candy, thin to a soft-peak stage so pieces nestle in and stay put.
FAQ
Can I make royal icing without meringue powder?
Yes.
Use 2 large egg whites and 1/2 teaspoon cream of tartar instead of meringue powder and water. Beat to stiff peaks and proceed as usual. Keep refrigerated and use within 3 days.
Why is my royal icing not hardening?
It may be too thin, too humid, or contaminated with grease.
Add more powdered sugar to thicken, let it dry in a less humid room, and make sure tools are grease-free. Using gel colors also helps.
How thick should icing be for assembling walls?
Very thick—like peanut butter. It should hold a sharp peak and not slump.
If it slides, add more powdered sugar to stiffen it.
How long does royal icing take to dry?
Surface dry in 15–30 minutes, firm in 1–2 hours, and fully set overnight. Larger, thicker areas and humid rooms take longer.
Can I color royal icing black or red without it tasting bitter?
Yes, but use quality gel colors and start with a dark base (like chocolate royal icing using a little cocoa). Let colored icing rest for an hour to deepen, so you use less dye.
What if my icing is full of bubbles?
Stir slowly with a spatula to knock out air.
Tap the bowl on the counter and let the icing rest for 10 minutes before piping. A needle tool can pop surface bubbles on flooded areas.
Is royal icing safe for kids?
If you use meringue powder, yes. It eliminates the risks associated with raw egg whites.
Always store properly and discard if it smells off or separates badly.
Can I use royal icing on butter-based cookies?
Yes, but let cookies cool completely and brush off any excess grease or crumbs. A dry surface helps the icing adhere and set cleanly.
How can I fix icing that’s too thick?
Add water a half-teaspoon at a time and mix thoroughly. It changes fast, so go slowly.
If you over-thin, sift in more powdered sugar.
What piping tips should I use?
For assembly, use a large round tip (#8–#12). For outlines and details, use #2 or #3. For tiny accents, go with #1.
Couplers make switching tips easy.
In Conclusion
Gingerbread House Royal Icing is the reliable foundation for holiday builds and beautiful details. With a few ingredients and simple steps, you get an icing that sets hard, pipes clean lines, and keeps your creation upright. Keep it thick for structure, thin it for design work, and store it well so it’s always ready.
Once you master the consistency, decorating becomes easier, cleaner, and way more fun. Happy building—and don’t forget to let it dry before moving your masterpiece.