Easy Peanut Butter Blossom Cookies for the Holidays
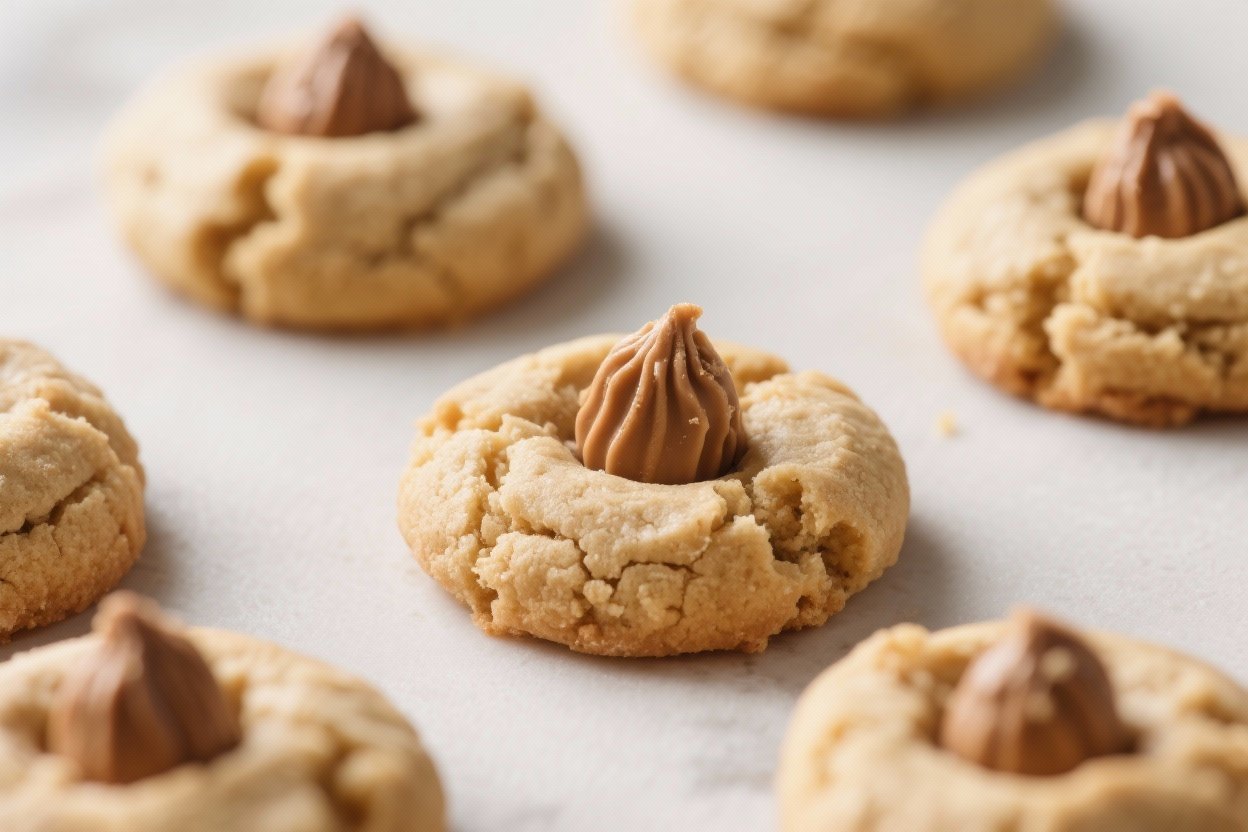
Peanut Butter Blossom Cookies are the kind of treat that feels familiar the moment you taste them. Soft, chewy peanut butter cookies rolled in sugar and topped with a chocolate kiss—simple, nostalgic, and always welcome on a cookie tray. They come together quickly, and they’re crowd-pleasers everywhere from bake sales to holiday parties.
If you’re craving a classic that never goes out of style, this is it. Bonus: they bake beautifully and make your kitchen smell amazing.
What Makes This Special
These cookies have the best of both worlds: a lightly crisp edge with a soft, tender center. The sugar coating gives them a sweet sparkle and a subtle crunch.
Then there’s the signature chocolate kiss on top—melty at first, then perfectly set as they cool. They’re easy for beginners, fun for kids to help with, and reliable every time.
Shopping List
- All-purpose flour – 1 1/2 cups
- Baking soda – 1 teaspoon
- Baking powder – 1/2 teaspoon
- Fine salt – 1/2 teaspoon
- Unsalted butter, softened – 1/2 cup (1 stick)
- Creamy peanut butter – 3/4 cup
- Granulated sugar – 1/2 cup (plus more for rolling)
- Light brown sugar – 1/2 cup, packed
- Large egg – 1
- Milk – 2 tablespoons
- Vanilla extract – 1 teaspoon
- Chocolate kiss candies – about 36 pieces (unwrapped)
Instructions
- Preheat and prep: Heat the oven to 350°F (175°C). Line two baking sheets with parchment paper.
- Combine dry ingredients: In a medium bowl, whisk together the flour, baking soda, baking powder, and salt.
Set aside.
- Cream the butter and sugars: In a large bowl, beat the butter, peanut butter, granulated sugar, and brown sugar together until light and fluffy, about 2–3 minutes. This step adds air and improves texture.
- Add egg, milk, and vanilla: Beat in the egg until smooth, then mix in the milk and vanilla. Scrape down the bowl to make sure everything is well combined.
- Fold in dry ingredients: Add the flour mixture and mix on low just until the dough comes together.
Avoid overmixing to keep the cookies soft.
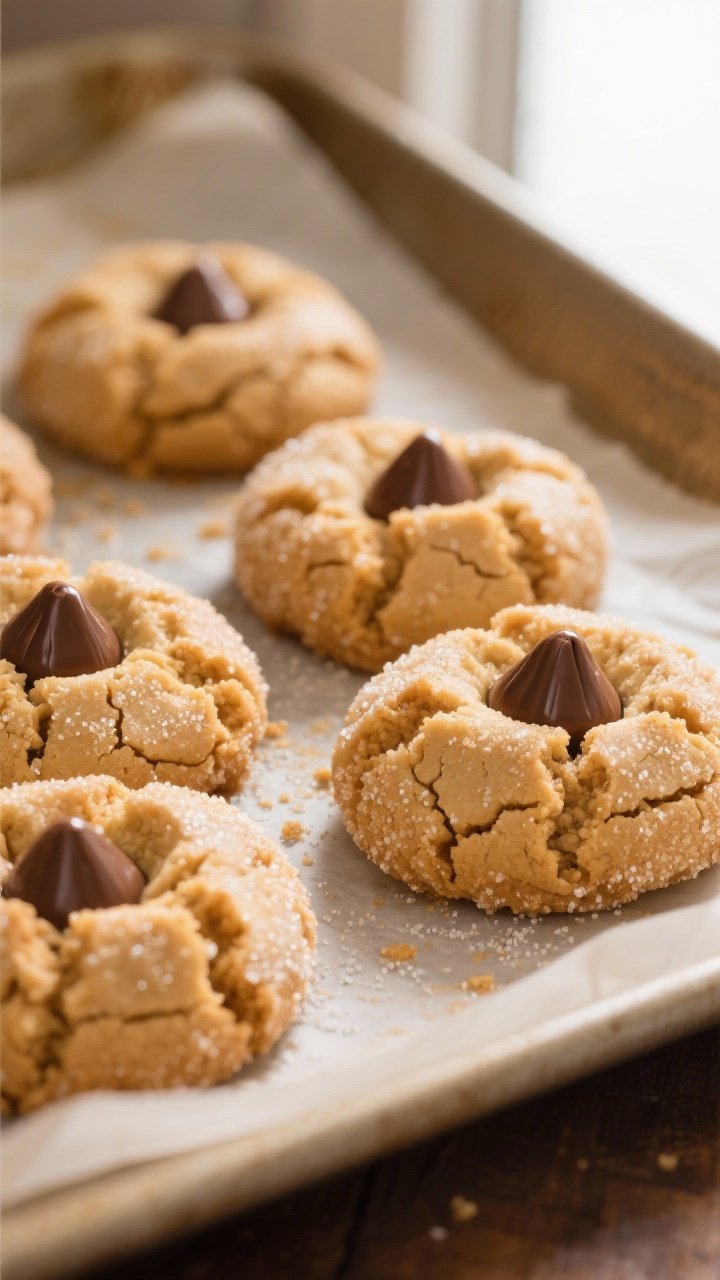
- Shape and coat: Scoop dough into 1-inch balls (about 1 tablespoon each). Roll each ball in granulated sugar and place on the baking sheets, spacing about 2 inches apart.
- Bake: Bake for 8–10 minutes, until the edges are set and the tops are slightly cracked. They should look puffed and soft in the center.
- Top with chocolate: Immediately press one chocolate kiss into the center of each cookie.
The cookie will crack a little around the edges—this is perfect.
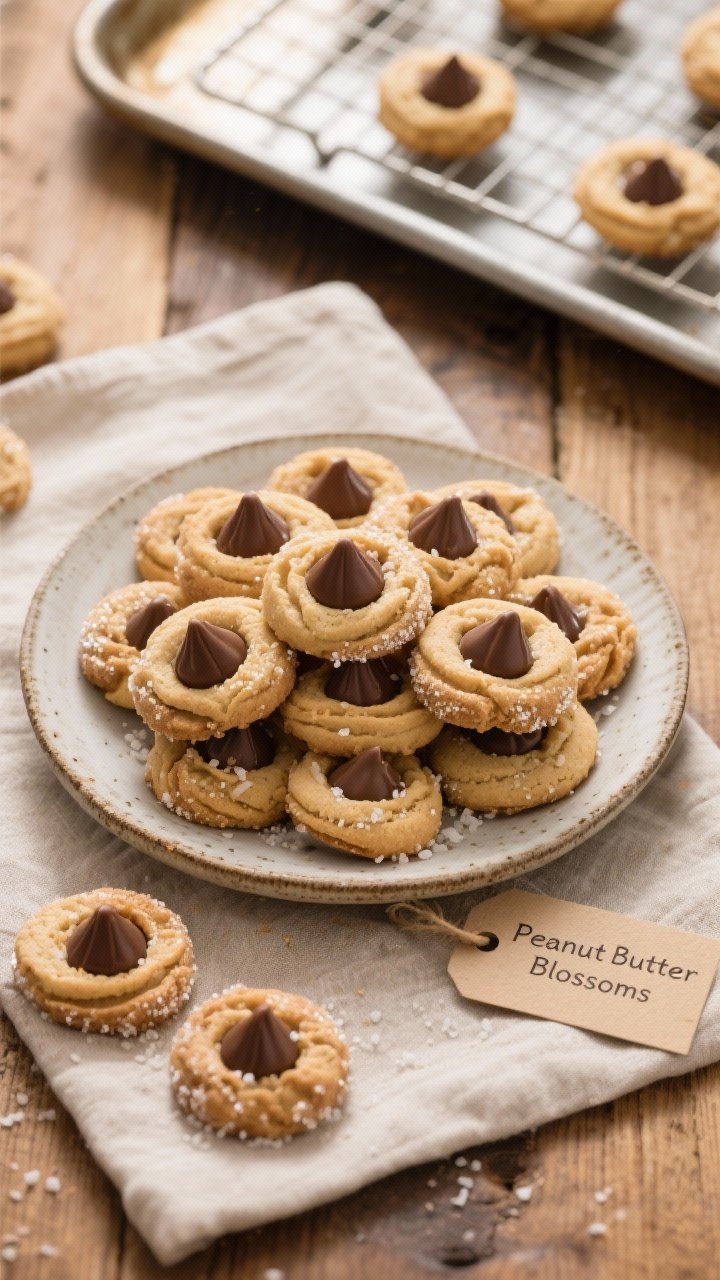
- Cool: Let the cookies rest on the baking sheet for 5 minutes, then transfer to a wire rack to cool completely. The chocolate will soften from the heat, then firm up as it cools.
- Serve: Enjoy slightly warm for a melty center, or wait until the chocolate sets for clean stacking and storing.
Storage Instructions
- Room temperature: Store in an airtight container for up to 4–5 days. Add a slice of bread to the container to keep them soft.
- Freezing baked cookies: Freeze in a single layer until solid, then transfer to a freezer bag for up to 2 months.
Thaw at room temperature.
- Freezing dough: Roll the dough into balls (without sugar), freeze on a sheet, then transfer to a bag. Bake from frozen, adding 1–2 extra minutes, and roll in sugar just before baking.
Benefits of This Recipe
- Reliable texture: Soft-centered cookies with just the right edge.
- Simple ingredients: Pantry staples you probably have on hand.
- Kid-friendly: Rolling dough balls and placing the chocolate is fun for helpers.
- Perfect for gifting: They pack and travel well, and they look festive.
- Flexible batch size: Easily doubles for parties or holidays.
Common Mistakes to Avoid
- Overbaking: Take them out when they look slightly underdone in the center. They’ll finish on the hot baking sheet.
- Skimping on creaming time: Under-creamed butter and sugar leads to dense cookies.
Beat until fluffy.
- Too much flour: Spoon and level the flour. Packed flour makes dry, crumbly cookies.
- Using natural peanut butter without adjustments: Natural varieties can be oily and separate. If using, stir very well and chill the dough 20–30 minutes before shaping.
- Pressing the chocolate too early or too late: Add the kiss right after baking so it adheres, but don’t do it before baking or it will melt and lose shape.
Recipe Variations
- Chocolate peanut butter blossoms: Replace 1/4 cup flour with cocoa powder for a chocolatey base.
- Mini blossoms: Use teaspoon-sized dough balls and mini chocolate chips or mini kisses.
Reduce bake time by 1–2 minutes.
- Sugar swap: Roll in coarse sanding sugar or colored sugar for a festive finish.
- Nutty crunch: Stir 1/3 cup chopped roasted peanuts into the dough for added texture.
- Salted finish: Sprinkle a pinch of flaky sea salt on the chocolate while it’s soft for a sweet-salty bite.
- Gluten-free: Use a 1:1 gluten-free baking flour blend. Check the chocolate candy label to ensure it’s gluten-free.
- Dairy-free: Use plant-based butter sticks and dairy-free chocolate drops. Texture remains similar with a slight flavor change.
FAQ
Can I make the dough ahead of time?
Yes.
Cover and refrigerate the dough for up to 48 hours. Let it sit at room temperature for 15–20 minutes before shaping if it’s too firm to roll.
Why did my cookies turn out dry?
Dry cookies usually mean too much flour or overbaking. Measure flour carefully and pull the cookies when the centers still look soft and puffy.
Do I have to use chocolate kisses?
No.
You can use chocolate disks, peanut butter cups (mini), chocolate chunks, or even a dollop of ganache. Just press them on right after baking.
Can I use crunchy peanut butter?
Yes, but the texture will be slightly more rustic. If using crunchy, keep an eye on bake time as they may spread a bit less.
How do I keep the chocolate from melting completely?
Add the chocolate after baking, not before.
Let the cookies sit on the sheet just 1–2 minutes, then press in the chocolate so it softens without losing its shape.
What if my dough is too sticky?
Chill it for 20–30 minutes, then roll. Humidity, warm kitchens, or natural peanut butter can make dough stickier than usual.
Can I double the recipe?
Absolutely. Double all ingredients and bake in batches, rotating trays halfway for even baking.
Are these safe for people with nut allergies?
No, not as written.
For a nut-free version, try sunflower seed butter and check your chocolate for cross-contact warnings.
Why did my cookies crack too much?
Some cracking is normal and expected. Excessive cracking can come from too much flour or overly dry dough. Measure carefully and avoid overbaking.
How do I get perfectly round cookies?
Right after baking, use a round cookie cutter or a glass to gently swirl around each cookie to nudge it into a neat circle while it’s still soft.
In Conclusion
Peanut Butter Blossom Cookies bring warmth and nostalgia in every bite.
They’re simple to make, pretty to look at, and always a hit with friends and family. With a few basic ingredients and a short bake time, you’ll have a batch ready for any occasion. Keep this recipe on hand—it’s a classic you’ll come back to again and again.
Printable Recipe Card
Want just the essential recipe details without scrolling through the article? Get our printable recipe card with just the ingredients and instructions.