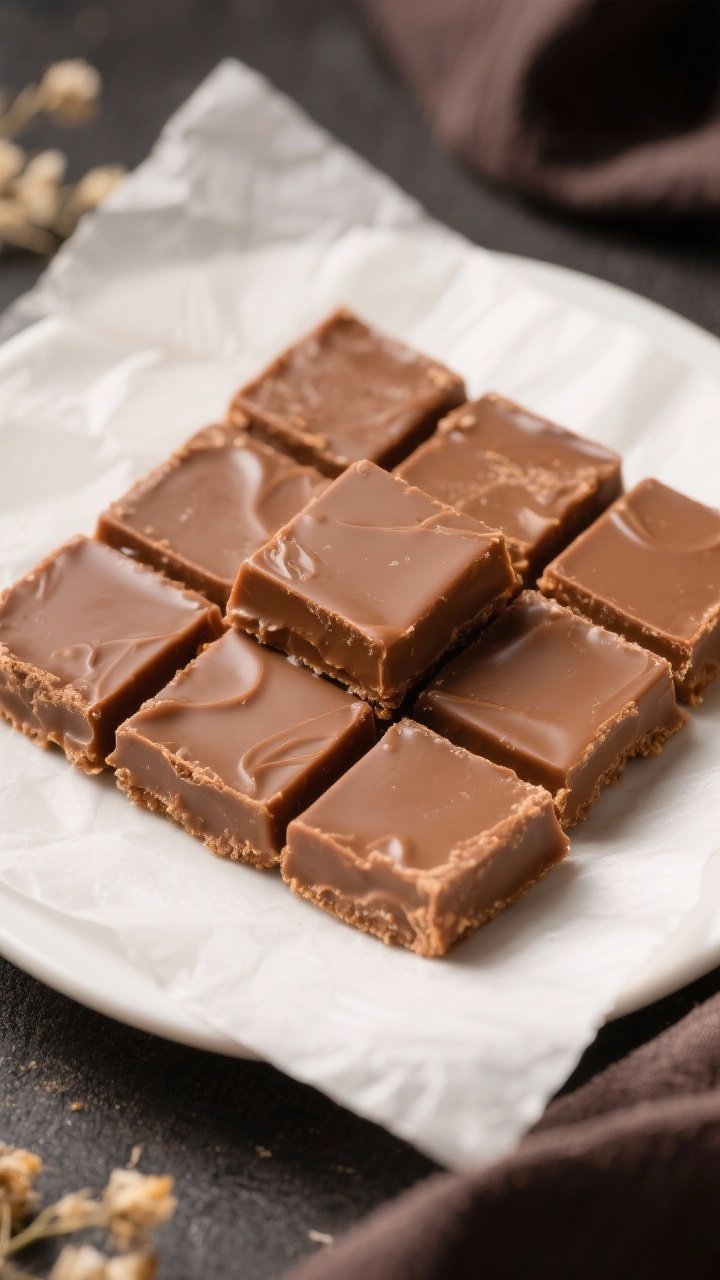
How to Make Classic Fantasy Fudge Squares – Rich, Creamy at Home
This is the kind of fudge that shows up at winter holidays and family reunions, then quietly disappears before the coffee is poured. It’s silky, sweet, and nostalgic in the best way. You don’t need fancy equipment or candy thermometers—just a saucepan, a spatula, and a little patience.
The combination of chocolate, sugar, and marshmallow creme creates a foolproof texture that slices clean and melts on the tongue. Keep a batch in the fridge, and you’ll have a ready-made treat for guests, gifting, or late-night cravings.
What Makes This Recipe So Good
- Classic flavor, no fuss: This recipe delivers that old-fashioned chocolate fudge taste without tricky steps or complicated techniques.
- Perfect texture: The marshmallow creme ensures a smooth, creamy finish that stays stable and sliceable.
- Reliable and scalable: Works just as well for a small batch as it does for holiday gifting trays.
- Customizable: Add nuts, swirl in peanut butter, or use different chocolate blends—this fudge is flexible.
- Great make-ahead treat: Keeps beautifully in the fridge or freezer, so you can prep days in advance.
What You’ll Need
- 3 cups granulated sugar
- 3/4 cup unsalted butter (1 1/2 sticks)
- 2/3 cup evaporated milk (not sweetened condensed)
- 12 ounces semisweet chocolate chips (about 2 cups)
- 1 jar (7 ounces) marshmallow creme (marshmallow fluff)
- 1 teaspoon pure vanilla extract
- 1/2 teaspoon fine salt (reduce to 1/4 teaspoon if using salted butter)
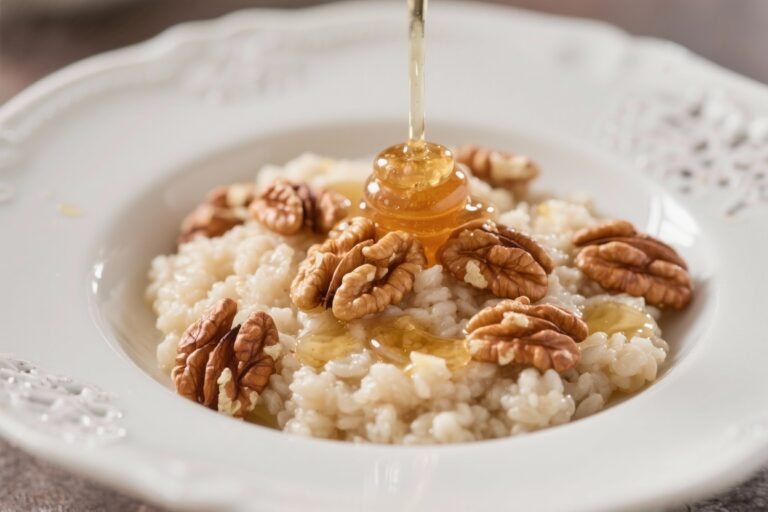
- Optional mix-ins: 1 cup chopped walnuts or pecans
- Optional garnish: flaky sea salt for sprinkling
- For the pan: parchment paper or foil and a little butter for greasing
How to Make It
- Prep the pan: Line a 9×13-inch baking pan with parchment or foil, leaving overhang for easy lifting. Lightly butter the lining to prevent sticking.
- Measure and have everything ready: Once the mixture is hot, you’ll need to move quickly.Set out the chocolate chips, marshmallow creme, vanilla, salt, and nuts (if using).
- Make the syrup base: In a heavy-bottomed saucepan, combine sugar, butter, and evaporated milk over medium heat. Stir gently until the butter melts and the mixture begins to bubble.
- Boil to thicken: Bring to a full rolling boil, stirring constantly. Cook for 4 to 5 minutes (or to 234–240°F if using a thermometer).The mixture will foam and look glossy.
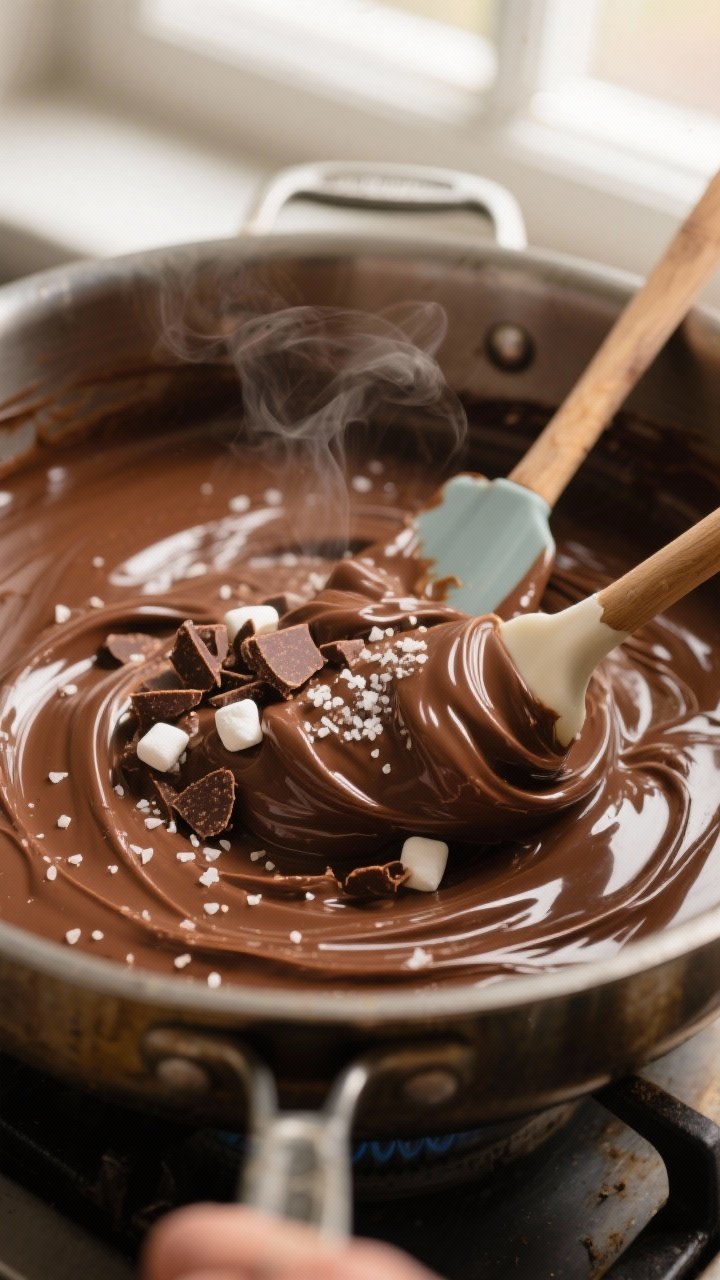
- Take off the heat: Remove the pan from the burner. Immediately stir in chocolate chips until completely melted and smooth.
- Finish the fudge: Add marshmallow creme, vanilla, and salt. Stir briskly until fully incorporated and velvety.Fold in nuts if using.
- Pour and level: Scrape the fudge into the prepared pan. Smooth the top with a spatula. Sprinkle a pinch of flaky sea salt if you like.
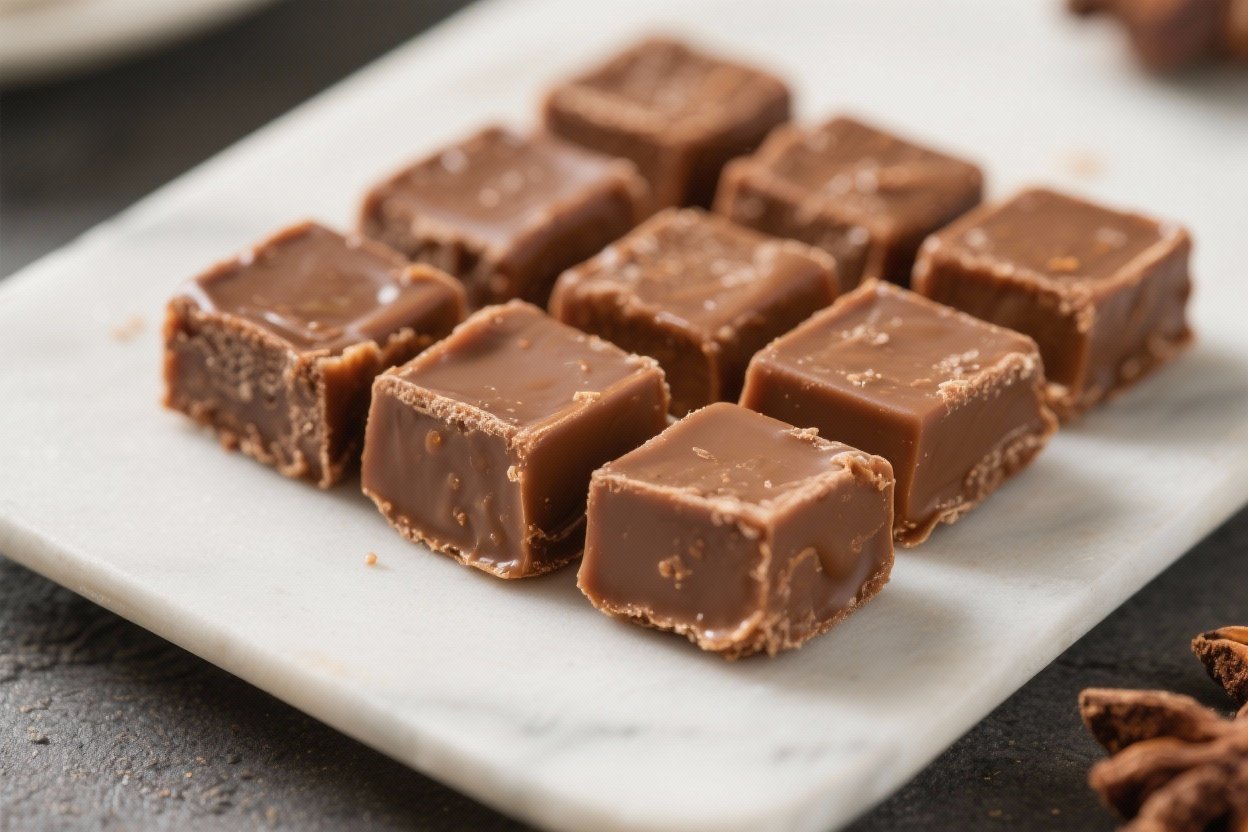
- Set and slice: Let cool at room temperature for 2 to 3 hours, or chill for 1 to 1.5 hours until firm.Lift out by the parchment and cut into 1- to 1.5-inch squares with a sharp knife.
Storage Instructions
- Room temperature: Keep in an airtight container for up to 1 week. Separate layers with parchment to avoid sticking.
- Refrigerator: Store for up to 2 weeks. The texture stays firm and sliceable.
- Freezer: Wrap tightly and freeze for up to 2 months.Thaw in the fridge overnight for best texture.
- Gifting tip: Package in tins with wax paper and a cool pack if traveling through warm environments.
Health Benefits
This is a dessert, so think balance rather than health food. That said, there are a few positives. Nuts add healthy fats, fiber, and protein, which can help satisfaction and slow a sugar spike.
Darker chocolate chips bring antioxidants from cocoa solids.
Portion control makes a big difference. Small squares offer a sweet finish without going overboard. If you’re looking to cut back, try using dark chocolate, reducing the batch size, or adding nuts to increase fullness.
Common Mistakes to Avoid
- Undercooking the syrup: If you don’t boil long enough, the fudge can set soft or grainy.Aim for 4 to 5 minutes of a rolling boil.
- Overcooking: Boiling too long can make the fudge dry and crumbly. If using a thermometer, target the soft-ball range (234–240°F).
- Stirring too little after adding chocolate and marshmallow creme: Incomplete mixing can leave streaks. Stir until smooth and uniform.
- Skipping the salt: A bit of salt rounds out the sweetness and deepens chocolate flavor.Don’t skip it.
- Cutting too early: Let it fully set. Rushing leads to ragged edges and smudged squares.
Recipe Variations
- Rocky Road Fudge: Fold in 1 cup mini marshmallows and 1 cup toasted almonds.
- Peanut Butter Swirl: Dollop 1/2 cup warmed peanut butter over the poured fudge and use a knife to swirl.
- Mocha Fudge: Stir 1 tablespoon espresso powder into the hot syrup before adding chocolate.
- Mint Chocolate: Use 1/2 teaspoon peppermint extract and top with crushed peppermint candies.
- Half-and-Half Chocolate: Use half semisweet and half milk chocolate chips for a gentler sweetness.
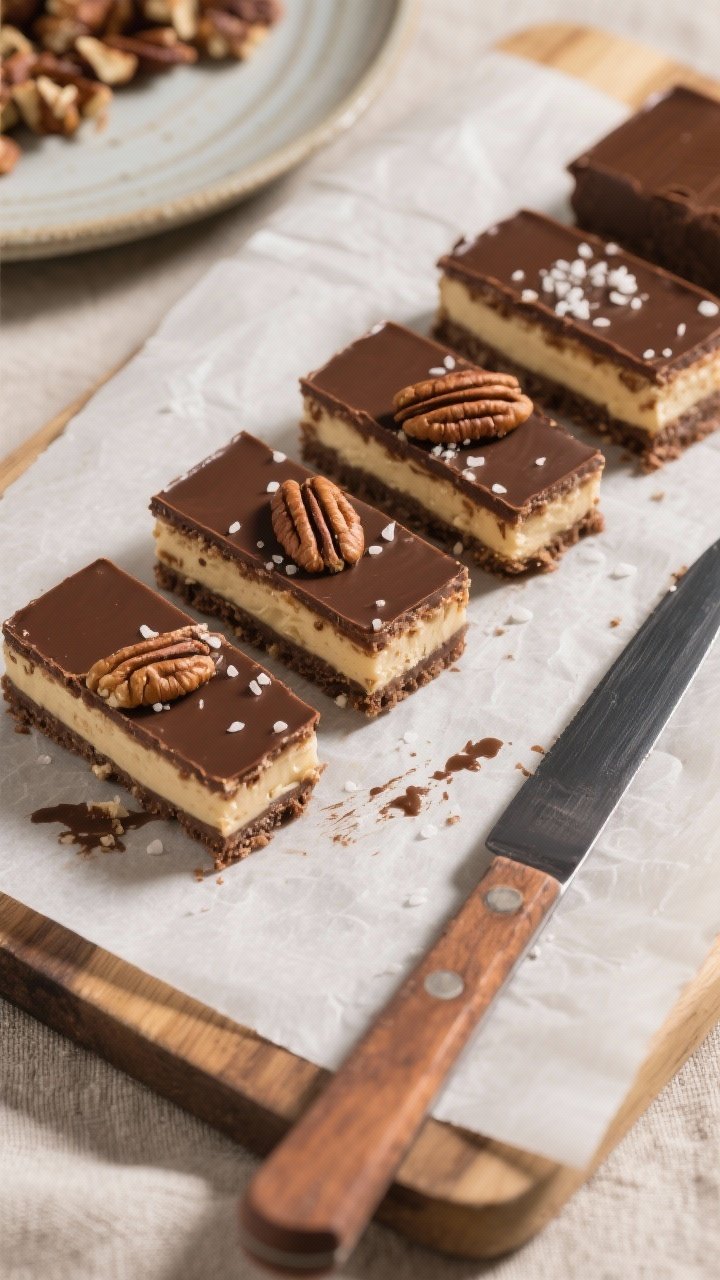
- Salted Pecan: Add 1 cup toasted pecans and finish with a light sprinkle of flaky salt.
- Smaller Batch: Halve all ingredients and use an 8×8-inch pan.
FAQ
Can I use sweetened condensed milk instead of evaporated milk?
No. Sweetened condensed milk is much thicker and already loaded with sugar, which would throw off the balance.
Stick to evaporated milk for this classic texture.
Do I need a candy thermometer?
Not required. A steady 4 to 5 minutes of full rolling boil while stirring works well. If you want extra precision, aim for 234–240°F.
Why did my fudge turn grainy?
Usually it’s from undercooking the syrup or letting sugar crystals form on the pan sides.
Keep stirring during the boil and avoid scraping any dried sugar from the edges back into the pot.
How do I get clean slices?
Chill the fudge until firm, then use a sharp knife. Wipe the blade between cuts for neat edges. A warm knife (run under hot water and dried) helps, too.
Can I make this without marshmallow creme?
The marshmallow creme stabilizes the texture and helps prevent crystallization.
You can try a classic cooked-fudge method without it, but the process is more finicky.
What if I only have salted butter?
Use it, but reduce the added salt to 1/4 teaspoon. Taste the mixture before pouring and adjust as needed.
How long does it take to set?
At room temperature, expect 2 to 3 hours. In the fridge, it can be ready in about 1 to 1.5 hours.
Don’t rush slicing.
In Conclusion
Classic Fantasy Fudge Squares are the kind of treat that instantly feels like home. The process is straightforward, the ingredients are easy to find, and the results are reliably delicious. Keep the base recipe as-is or dress it up with nuts, swirls, and spices.
Either way, you’ll end up with smooth, rich squares that make any day feel a little more special.