Peppermint Cheesecake – Creamy, Festive, and Easy to Make
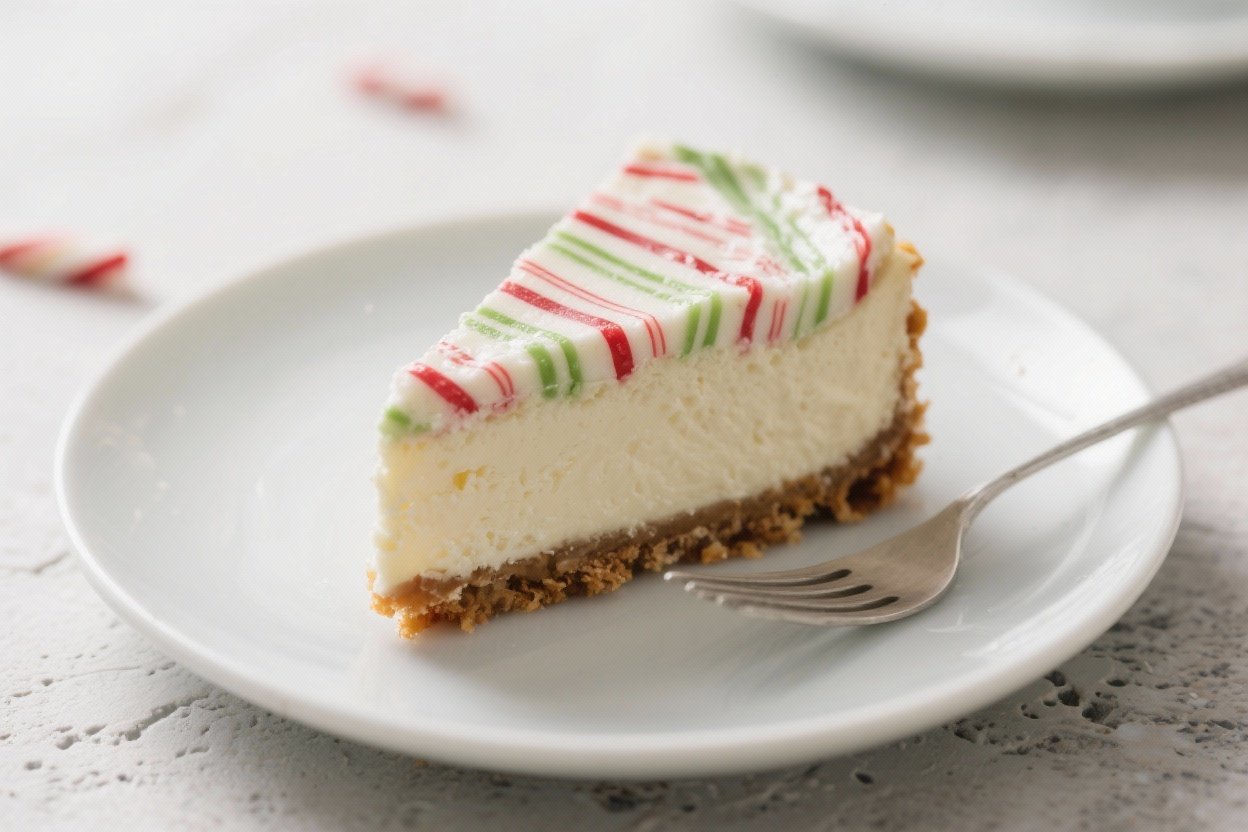
This peppermint cheesecake is pure holiday cheer in dessert form. It’s cool, creamy, and full of that unmistakable minty flavor without being overpowering. The buttery chocolate cookie crust balances the tangy filling, and a silky ganache makes it feel special.
It looks like something from a bakery, but it’s straightforward enough for a weeknight project. Make it for a party, a potluck, or whenever you want a dessert that feels joyful and cozy.
What Makes This Special
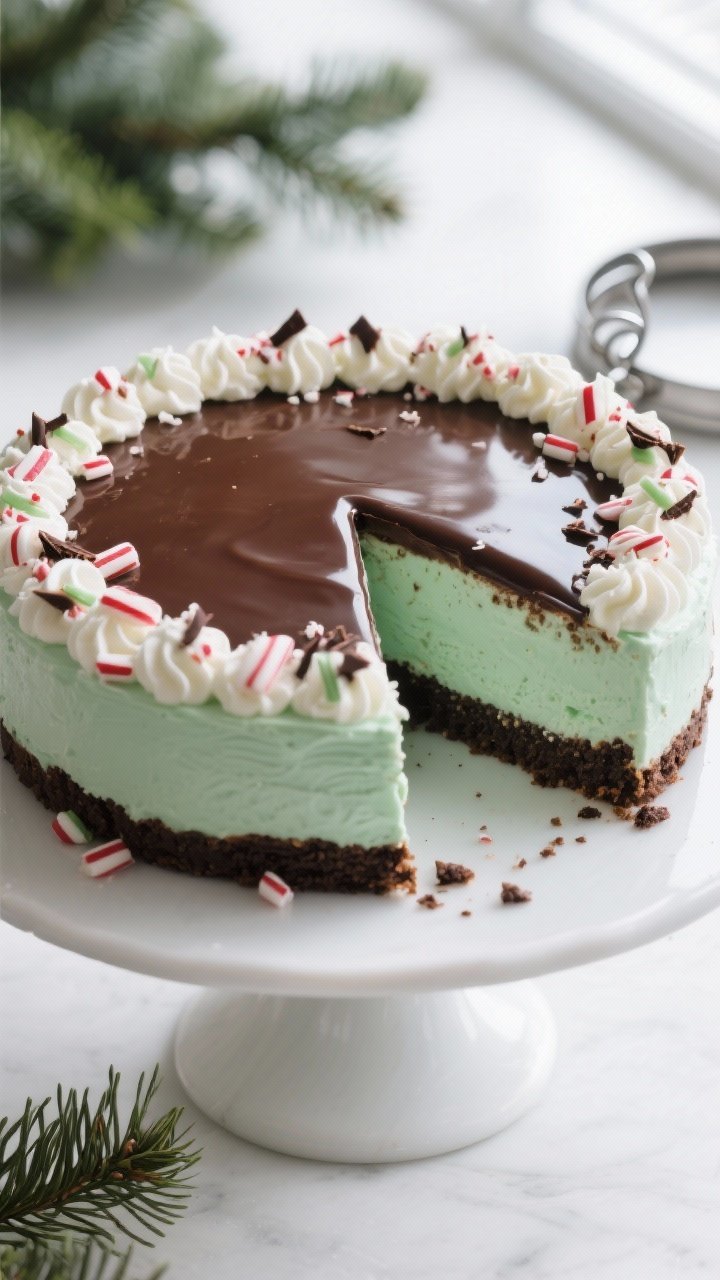
This cheesecake blends classic cream cheese richness with a bright pop of peppermint, so every bite tastes refreshing, not heavy. The chocolate crust gives it a hint of cookie-and-cream nostalgia, and the ganache top adds a glossy finish that wows without extra fuss.
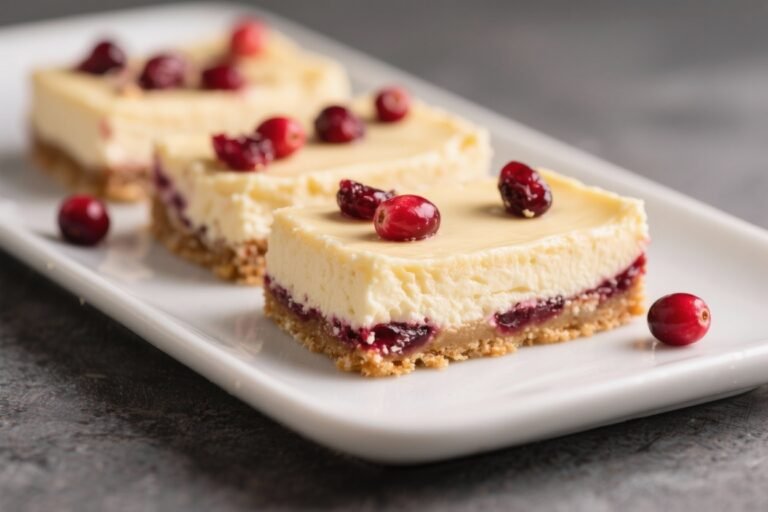
Crushed peppermint candies add a festive crunch and pretty color. Best of all, the recipe uses simple, familiar ingredients—no odd flavors or complicated steps. It’s the kind of dessert that makes people smile before they even taste it.
What You’ll Need
- For the crust:
- 24 chocolate wafer cookies or chocolate sandwich cookies (cream removed), finely crushed
- 5 tablespoons unsalted butter, melted
- 2 tablespoons granulated sugar
- Pinch of salt
- For the filling:
- 24 ounces (3 blocks) cream cheese, softened
- 1 cup granulated sugar
- 3 large eggs, room temperature
- 1 cup sour cream, room temperature
- 1 teaspoon pure peppermint extract
- 1 teaspoon vanilla extract
- 2 tablespoons all-purpose flour or 1 tablespoon cornstarch
- 1/4 teaspoon fine sea salt
- 1/2 cup finely crushed peppermint candies or candy canes (optional, for stirring in)
- For the ganache topping:
- 1 cup semi-sweet chocolate chips or chopped chocolate
- 1/2 cup heavy cream
- 1 tablespoon unsalted butter (optional, for shine)
- For garnish (optional):
- Whipped cream
- Crushed peppermint candies
- Chocolate shavings
- Equipment:
- 9-inch springform pan
- Aluminum foil (for wrapping pan)
- Large roasting pan (for water bath)
- Electric mixer
Instructions
- Prep the pan. Heat oven to 325°F (163°C).Wrap the outside of a 9-inch springform pan with two layers of foil to prevent leaks. Lightly grease the inside.
- Make the crust. Stir cookie crumbs, sugar, salt, and melted butter until the mixture looks like wet sand. Press firmly into the bottom of the pan and slightly up the sides.Bake for 10 minutes, then cool while you make the filling.
- Mix the filling base. Beat the softened cream cheese on medium speed until smooth and fluffy, about 2 minutes. Add sugar and beat until creamy, scraping the bowl as needed.
- Add eggs and flavor. Beat in eggs one at a time on low speed. Mix just until combined.Add sour cream, peppermint extract, vanilla, flour (or cornstarch), and salt. Mix on low until smooth. Avoid overmixing to prevent cracks.
- Fold in peppermint. If using crushed peppermint in the batter, fold it in gently.This adds a subtle crunch and extra minty flavor.
- Assemble the water bath. Place the foil-wrapped pan in a large roasting pan. Pour the filling over the crust and smooth the top. Pour hot water into the roasting pan to reach halfway up the springform pan.
- Bake. Bake for 55–70 minutes, until edges are set and the center wobbles slightly when nudged.If the top starts browning, tent loosely with foil.
- Cool gradually. Turn off the oven, crack the door, and let the cheesecake sit inside for 45 minutes. Then remove from the water bath, unwrap, and cool to room temperature.
- Chill. Cover and refrigerate for at least 6 hours, preferably overnight. This helps it firm up and develop flavor.
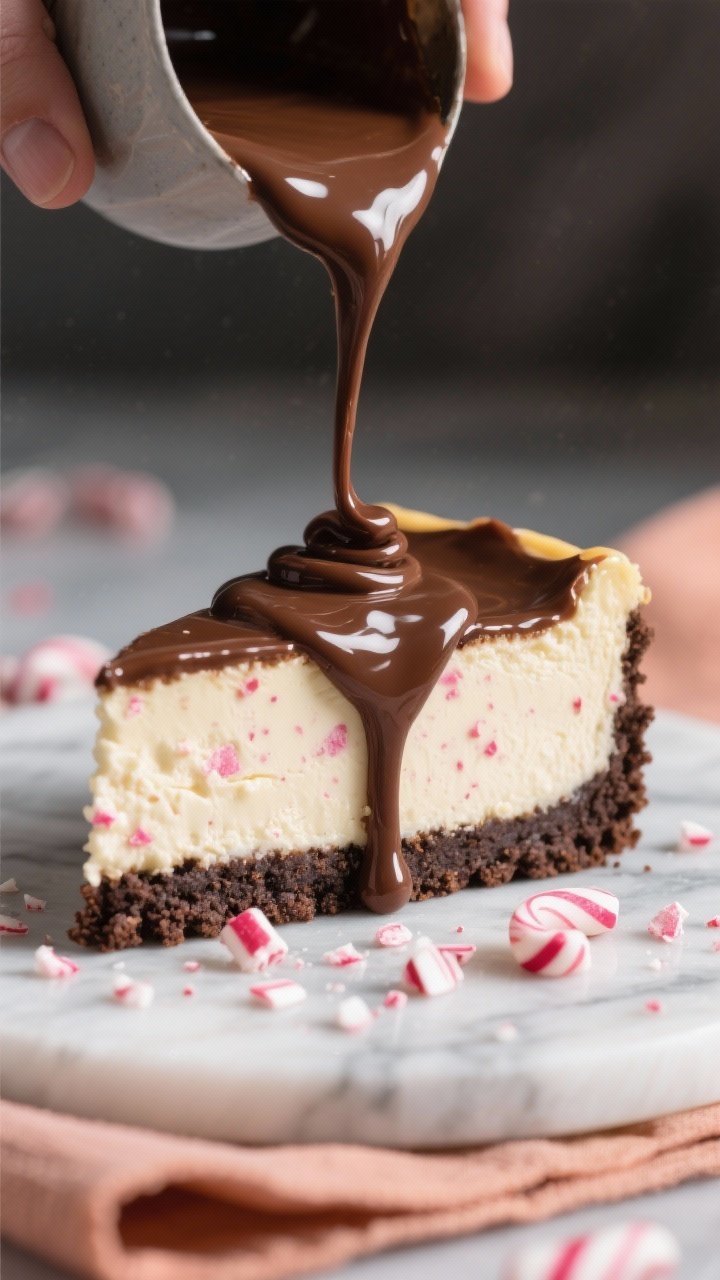
- Make ganache. Heat cream until steaming (not boiling).Pour over chocolate and let sit 2 minutes. Stir until smooth; add butter for extra shine if you like. Let cool slightly so it thickens but still pours.
- Finish and garnish. Spread ganache over the chilled cheesecake.Chill 20–30 minutes to set. Add whipped cream, crushed peppermint, or chocolate shavings just before serving.
- Slice cleanly. Use a hot, sharp knife and wipe between cuts for neat slices.
Storage Instructions
Keep the cheesecake covered in the fridge for up to 5 days. For best results, add whipped cream and crushed candies just before serving so they stay crisp.
To freeze, chill the cheesecake fully, then wrap tightly in plastic and foil. Freeze for up to 2 months. Thaw overnight in the fridge, then add ganache and toppings if you haven’t already.
Why This is Good for You
Cheesecake is a treat, but this version has a few positive points. Peppermint can be soothing for digestion and provides a fresh, bright flavor that satisfies with smaller portions.
The recipe uses sour cream for a creamy texture, so you don’t need heavy amounts of added sugar to get a rich taste. A chocolate cookie crust offers contrast, helping you feel satisfied without piling on extras.
If you want to lighten it up, use reduced-fat cream cheese and swap some sugar for a small amount of maple syrup. You’ll still get a smooth, minty dessert that feels like a celebration.
Common Mistakes to Avoid
- Overmixing the batter: Too much air leads to cracks.Mix on low and stop when everything is just combined.
- Skipping the water bath: The steam keeps the cheesecake moist and prevents dramatic temperature swings. It’s worth the extra step.
- Cold ingredients: Use room-temperature cream cheese, eggs, and sour cream for a silky texture and easier mixing.
- Rushing the cool-down: Fast temperature changes cause cracks. Let it rest in the oven, then cool fully before chilling.
- Adding toppings too early: Crushed peppermint melts in the fridge.Add it right before serving for crunch and color.
Alternatives
- Crust swaps: Use Oreo crumbs (with filling), chocolate graham crackers, or even a chocolate-almond crust for a nutty twist.
- No-bake version: Make the crust as written, then use 24 ounces cream cheese, 1 cup powdered sugar, 1 cup heavy cream (whipped), peppermint and vanilla extracts, and fold together. Chill 6 hours, top with ganache.
- Flavor variations: Add 1/4 teaspoon almond extract for a candy-cane bakery vibe. Or swirl in 1/3 cup hot fudge before baking for ribbons of chocolate.
- Color play: For a festive look, mix a drop or two of red gel food coloring into half the batter and swirl it for a peppermint-candy effect.
- Gluten-free: Use certified gluten-free chocolate cookies and cornstarch instead of flour.
- Lighter topping: Skip ganache and serve with a thin drizzle of melted dark chocolate and a cloud of whipped cream.
FAQ
Can I use peppermint oil instead of peppermint extract?
Yes, but it’s much stronger.
Use about one-quarter of the amount. Start with a few drops, taste, and adjust carefully. Too much peppermint can turn bitter.
How do I prevent cracks without a water bath?
Bake at a slightly lower temperature (300–310°F), avoid overmixing, and cool slowly in the oven with the door cracked.
A thin layer of ganache can also hide minor cracks while keeping the cheesecake moist.
Can I make this ahead?
Absolutely. Cheesecake actually tastes better the next day. Bake it a day or two ahead, chill, then add ganache and toppings the day you serve.
What if I don’t have a springform pan?
Use a deep 9-inch cake pan lined with a parchment sling for lifting.
You may need to serve it in slices from the pan if it’s tricky to remove, but it will still taste great.
Is there a way to make it less sweet?
Reduce the sugar in the filling to 3/4 cup and use extra-dark chocolate in the ganache. You can also skip the candy pieces inside and keep them only as a light garnish.
Can I use white chocolate instead of dark for the ganache?
Yes, but white chocolate is sweeter and softer. Reduce the cream slightly (about 1–2 tablespoons less) so the ganache sets well.
How do I get clean slices?
Dip your knife in very hot water, wipe it dry, and slice.
Clean and rewarm between cuts. This keeps the ganache and filling from smearing.
Wrapping Up
This peppermint cheesecake brings cool mint, rich chocolate, and a creamy center together in one show-stopping dessert. It’s festive enough for holidays but easy enough for any celebration.
Follow the simple steps, be patient with the cooling time, and you’ll end up with a smooth, bakery-worthy slice. Serve it chilled, add a touch of whipped cream, and enjoy that perfect balance of fresh and indulgent.