The Ultimate Guide to Creating a Stunning Pudding Layer Cake
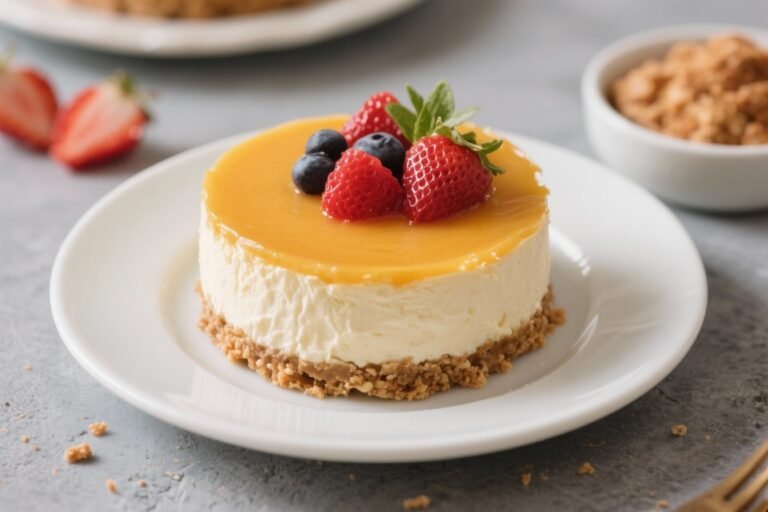
Pudding layer cake is the kind of dessert that makes people quietly smile after the first bite. It’s soft, creamy, and comforting, with tender cake and silky pudding layered into one gorgeous slice. You don’t need special equipment or advanced baking skills to pull it off.
If you can bake a simple cake and whisk pudding, you can make this. The best part? It looks impressive but stays easy and approachable, even on a busy weeknight.
Why This Recipe Works

This recipe builds flavor and texture in a way that feels balanced and satisfying.
The cake provides structure and a gentle sweetness, while the pudding adds richness and moisture. By chilling the layers together, the pudding sets slightly into the cake, creating that dreamy, cohesive bite. A light whipped topping finishes it without weighing it down.
The result is a dessert that tastes luxurious but isn’t heavy or overly sweet.
What You’ll Need
- For the cake:
- 1 1/2 cups all-purpose flour
- 1 cup granulated sugar
- 1/2 cup unsalted butter, softened
- 2 large eggs, room temperature
- 1/2 cup milk, room temperature
- 1/4 cup sour cream or plain yogurt
- 1 1/2 teaspoons baking powder
- 1/2 teaspoon baking soda
- 1/2 teaspoon fine salt
- 1 tablespoon vanilla extract
- For the pudding layer:
- 2 cups whole milk
- 1/2 cup granulated sugar
- 3 tablespoons cornstarch
- 2 large egg yolks
- 1 tablespoon unsalted butter
- 1 1/2 teaspoons vanilla extract
- Pinch of salt
- For the topping:
- 1 cup heavy whipping cream
- 2 tablespoons powdered sugar
- 1/2 teaspoon vanilla extract
- Optional: chocolate shavings, cocoa powder, or fresh berries
- Equipment:
- Two 8-inch round cake pans (or one 9×13-inch pan)
- Parchment paper
- Whisk and saucepan
- Cooling rack
- Offset spatula (helpful but optional)
How to Make It
- Prep your pans and oven. Heat the oven to 350°F (175°C). Grease the pans, line with parchment rounds, and lightly flour. This helps the cake release cleanly.
- Mix the dry ingredients. In a medium bowl, whisk flour, baking powder, baking soda, and salt.
Set aside.
- Cream butter and sugar. In a large bowl, beat butter and sugar until light and fluffy, about 2–3 minutes. Add eggs one at a time, then vanilla, mixing until smooth.
- Finish the batter. Mix in half the dry ingredients, then the milk and sour cream, then the remaining dry ingredients. Stir just until combined.
Don’t overmix.
- Bake the cake. Divide batter between pans. Bake 22–26 minutes, until a toothpick comes out clean. Cool in pans 10 minutes, then turn out onto a rack to cool completely.
- Make the pudding. In a saucepan, whisk sugar, cornstarch, and salt.
Add milk gradually, whisking smooth. Whisk in egg yolks. Cook over medium heat, whisking constantly, until thick and gently bubbling, 4–6 minutes.
- Finish the pudding. Remove from heat.
Stir in butter and vanilla. Pour into a shallow dish, press plastic wrap on the surface, and cool to room temperature. For faster cooling, set the dish over an ice bath and stir.
- Whip the topping. Beat cold heavy cream, powdered sugar, and vanilla to soft peaks.
Keep chilled.
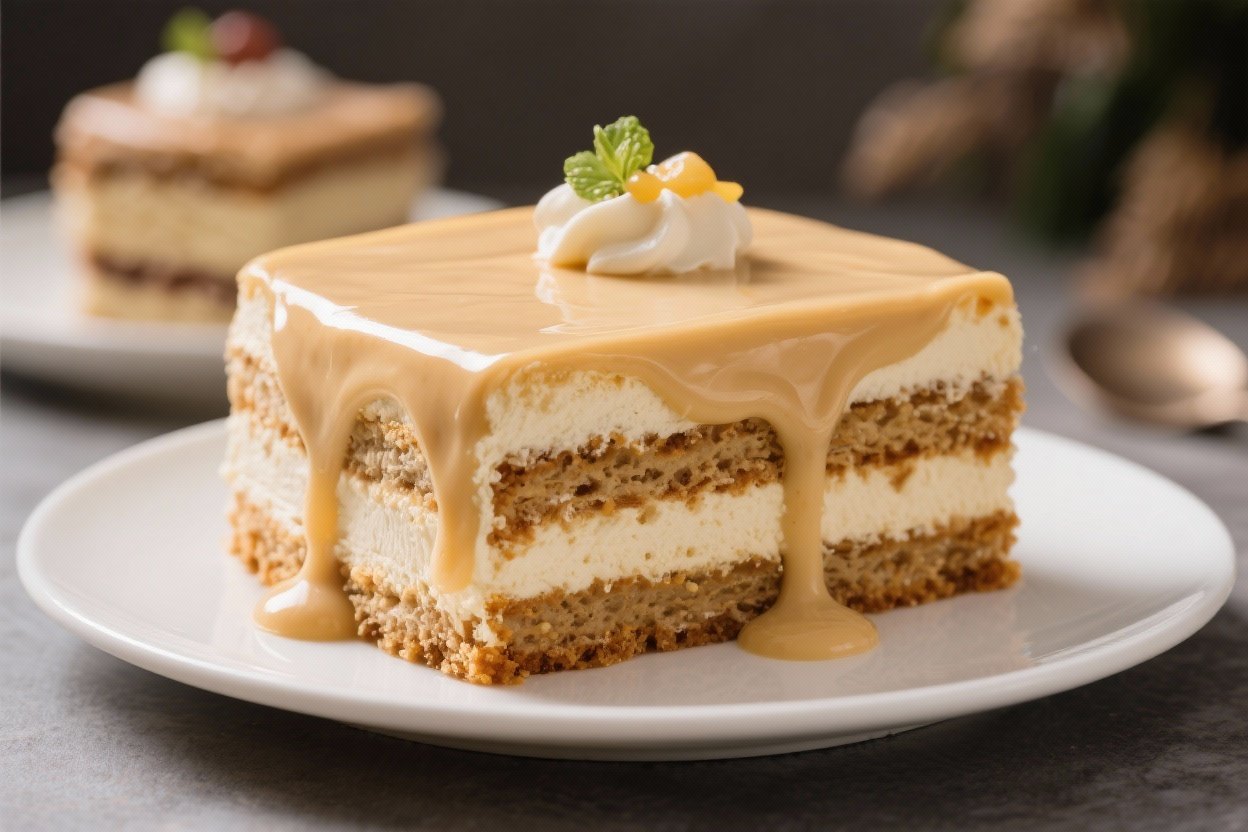
- Assemble the layers. Place the first cake layer on a plate. Spread an even layer of pudding over it, leaving a 1/4-inch border to prevent spillover. Top with the second cake layer.
- Chill before topping. Refrigerate the cake 30–45 minutes so the pudding sets and the layers stabilize.
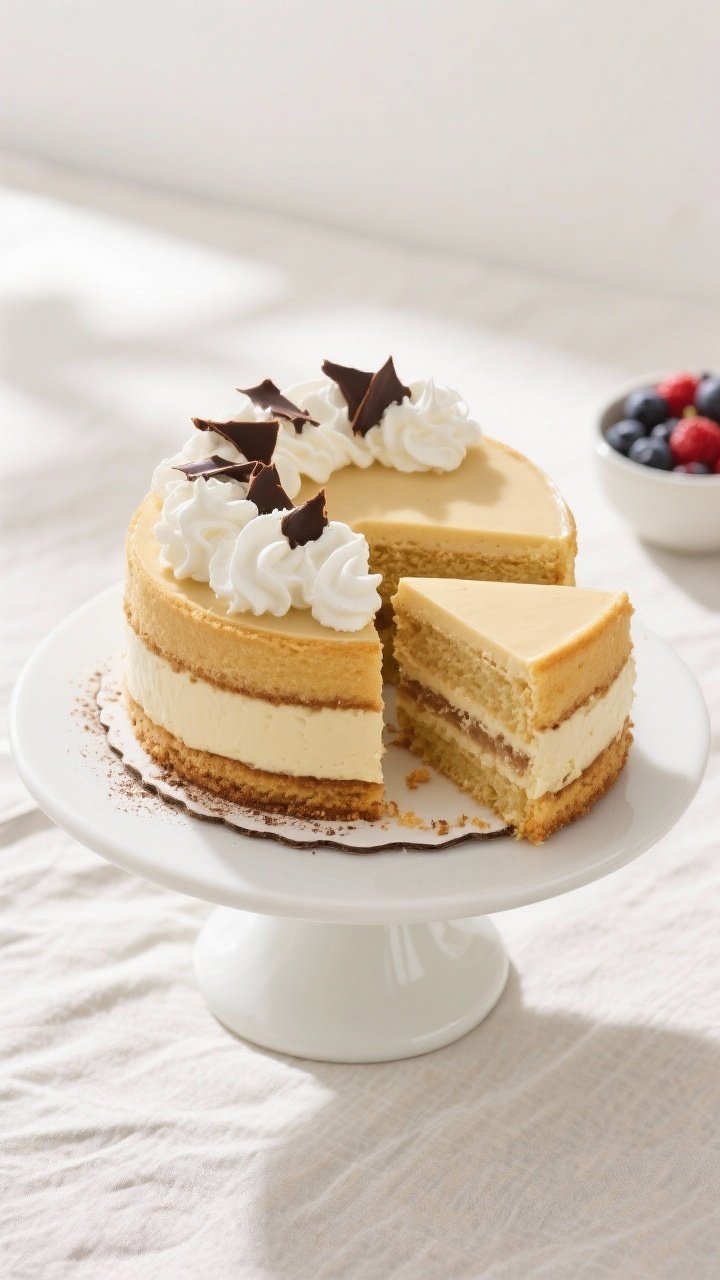
- Finish with whipped cream. Spread whipped cream over the top (and sides if you like).
Add chocolate shavings, a light dusting of cocoa, or berries.
- Slice and serve. For neat slices, chill an additional 30 minutes and use a sharp, thin knife. Wipe the blade between cuts.
How to Store
- Refrigerator: Cover and chill for up to 3 days. The cake will stay moist, and the pudding will remain set.
- Freezer: Freeze slices without whipped cream topping, well-wrapped, for up to 1 month.
Thaw in the fridge overnight, then add fresh whipped cream.
- Make-ahead: Bake the cake and cook the pudding a day in advance. Assemble the next day for the cleanest layers.
Why This is Good for You
This dessert is about comfort and balance. A homemade pudding uses simple ingredients you can recognize, with no artificial flavors.
You control the sweetness and can use less sugar or part whole-grain flour if you prefer. Portion-wise, a small slice truly satisfies. And if you top it with fresh berries, you add fiber and natural sweetness without extra heaviness.
Pitfalls to Watch Out For
- Runny pudding: If the pudding isn’t cooked long enough to thicken, it will ooze out.
Cook until it bubbles and coats the back of a spoon.
- Warm layers: Assembling with warm cake or warm pudding leads to sliding and melting. Cool both completely before stacking.
- Overmixing batter: This can make the cake tough. Stir just until the flour disappears.
- Skipping the chill: A short chill helps the pudding set into the cake, making cleaner slices and better texture.
- Watery whipped cream: If overwhipped, it turns grainy.
If underwhipped, it weeps. Aim for soft to medium peaks and keep it cold.
Variations You Can Try
- Chocolate-on-chocolate: Replace 1/3 cup of the flour with cocoa powder in the cake, and add 3 ounces melted dark chocolate to the pudding.
- Banana cream twist: Add a layer of sliced ripe bananas over the pudding. Brush with lemon juice to prevent browning.
- Tiramisu-inspired: Brush the cake layers with cooled espresso and 1 tablespoon coffee liqueur.
Add a dusting of cocoa under the whipped cream.
- Strawberry shortcake style: Fold chopped strawberries into lightly set pudding and top with more berries.
- Gluten-free: Use a 1:1 gluten-free baking flour and ensure cornstarch is certified gluten-free.
- Lighter option: Swap half the butter with unsweetened applesauce and use low-fat milk for the pudding. Texture stays soft and tender.
FAQ
Can I use boxed cake mix and instant pudding?
Yes. A vanilla or yellow boxed cake mix and instant vanilla pudding work fine.
The texture is slightly different, but it’s still delicious and very convenient.
How do I keep the pudding from leaking out the sides?
Pipe or spread a thin “dam” of whipped cream or a bit of buttercream around the edge of the first cake layer. Then spread the pudding inside that border and chill before adding the top layer.
What if I only have one pan?
Bake one thicker cake and slice it horizontally once cooled. Use a long serrated knife and turn the cake slowly as you cut to keep it even.
Can I make this dairy-free?
Yes.
Use a neutral plant milk (like oat or almond) for the pudding and a dairy-free butter. For topping, use coconut whipped cream. Check that your substitutions are unsweetened to avoid overly sweet results.
Why did my pudding turn lumpy?
Lumps come from hot spots or curdled eggs.
Whisk constantly, keep the heat moderate, and temper the egg yolks by adding a little hot milk mixture to them before returning everything to the pot. If needed, strain the pudding through a fine-mesh sieve.
How do I get those perfectly clean slices?
Chill the assembled cake at least 45–60 minutes. Use a sharp, thin knife, and wipe it clean between cuts.
A gentle sawing motion helps prevent the pudding from smearing.
Can I add a third layer?
Yes, but keep the pudding layers thinner so the cake stays stable. You can add dowels or chill longer if transporting.
Final Thoughts
Pudding layer cake is proof that a simple idea can feel special. You get soft cake, silky pudding, and a cloud of whipped cream without complicated steps or equipment.
It’s flexible, forgiving, and easy to make your own. Bake it for a birthday, a potluck, or just because someone deserves a treat. One slice has a way of making an ordinary day feel a little more cozy.