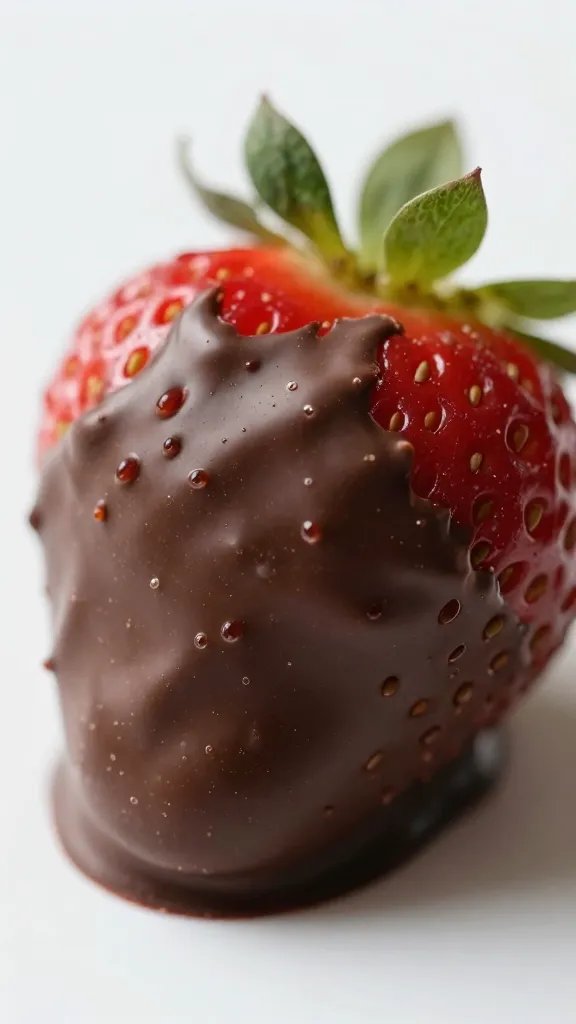
How to Make Perfect Chocolate Covered Strawberries

I mean, who can resist strawberries dipped in chocolate? It’s basically candy-coated fruit magic that somehow looks fancy and tastes like a dessert mystery tour. If you thought romance was overrated, meet your new favorite treat: chocolate covered strawberries. Ready to dive in? Let’s go.
Why chocolate covered strawberries win at life
You get the best of both worlds: juicy fruit and a glossy chocolate shell. It’s a snack for celebrations, a party trick, and a quick mood booster when the day’s been dialing up the chaos. Plus, they’re surprisingly versatile: sweet, tart, dark, white, with a crunch or a silk-smooth finish. FYI, they’re pretty forgiving for beginners too.
The chocolate game: choosing your coating
There are a few ways to play this. Your choice sets the vibe for the entire batch.
- Dark chocolate for sophistication and a tiny caffeine jolt. It pairs beautifully with the strawberry’s brightness.
- Milk chocolate for a classic, creamy hug. It’s what most people reach for first.
- White chocolate for a playful, sweet finish with a vanilla kick.
- Flavor add-ins like a pinch of sea salt, a sprinkle of chili, or a dash of espresso powder can elevate the profile.
Prep like a pro (without turning it into a science project)

The secret to shiny shells and clean dipping is a simple routine.
- Wash and dry the berries thoroughly. Water loves to ruin a chocolate shell, so dryness is non-negotiable.
- Line a tray with parchment or a silicone mat. You’ll thank yourself later.
- Temper or melt chocolate gently. You can use a microwave in 20-second bursts or a double boiler. Keep it smooth, not grainy.
- Dip, then rest. Don’t swirl forever—just a quick dip, lift, and let the excess drip off.
- Chill until set. If you’re in a rush, a 15-minute stint in the fridge does the trick; if you’ve got patience, give them a little time at room temp for that glossy finish.
Techniques that actually work in real life
Let’s break down methods that keep your chocolate glossy and your berries intact.
The quick dip method
Dip the berry by the stem, twist a little, and pull straight up. Gently shake to remove excess chocolate. This minimizes the chocolate rind and keeps the berry visible and glossy.
The two-bowl setup
Have one bowl with melted chocolate and a second bowl with melted white chocolate or a contrasting color. Dip in the first, place on the sheet, then drizzle with the second for a simple, stylish finish.
Flavor adventures: from simple to show-stopping
Plain is tasty, but a little creativity goes a long way.
- Sea salt for a tiny salty wink that makes chocolate pop.
- Crushed nuts for crunch and earthiness.
- Sprinkles for a party vibe—no judgment here.
- Edible gold for a wow factor (great for gifting).
- Espresso powder mixed into the chocolate for a coffee kick.
Storing, gifting, and tiny hacks
You’ve made a beautiful batch. Now what?
- Storage store in a single layer if possible; otherwise, separate layers with parchment to avoid sticking. Chill in the fridge, but bring to room temp before serving for maximum flavor.
- Short-term gifting arrange on a pretty tray with a ribbon. It’s basically dessert jewelry.
- Long-term tips don’t stack them when they’re set—one wrong nudge and you’ve got a chocolate avalanche. And if you’re taking them to a party, consider a small container with a tight lid to prevent stray chocolate warfare.
Common mistakes (and how to dodge them)
We’ve all been there: melted chocolate that won’t cooperate, berries that look more wilted than a houseplant, or a shell that cracks like a tiny eggshell.
Overheating chocolate
It scorches fast and ruins the gloss. Use short heating bursts and stir in between. If it starts to seize, add a tiny dab of oil or a sprinkle of cocoa powder to smooth it out—though prevention is better than rescue.
Not drying berries well enough
Any water on the surface sabotages the shell. Pat dry with paper towels, then wait a few minutes. Tiny spa day, but for fruit.
FAQ: quick answers to your pressing questions
Can I use frozen berries?
Yes, but thaw and dry them thoroughly. Frozen berries release more water as they thaw, which can splash into the chocolate and ruin the coating. Patience is key here.
What’s the best chocolate to use?
High-quality chocolate chips or bars designed for melting work best. Look for percentages on dark varieties (60-70% is a solid middle ground). If you want a creamy finish but a little brightness, mix in a touch of cocoa butter or a splash of cream—softening, not weakening, the shell.
How long do chocolate covered strawberries last?
In the fridge, about 2-3 days for the best texture and flavor. They’ll start to sweat if left out too long. FYI, the longer they sit, the more the strawberry aroma mingles with chocolate—sometimes that’s great, sometimes not as much, depending on your crowd.
Do I need to temper the chocolate?
Not strictly. Tempering is great for a shiny, crisp snap, but it’s not mandatory for a casual batch. If you’re aiming for museum-level gloss and firmness, tempering is worth it. If you’re just making a fun treat at home, melted and smoothed chocolate still yields delicious results.
Any dairy-free options?
Absolutely. Use dairy-free dark, milk, or white chocolate. Check the label for dairy-free icons, and pair with dairy-free toppings if needed. The shell will still shine, and the flavor can be equally delightful.
Conclusion
Chocolate covered strawberries aren’t just a dessert; they’re a little edible celebration you can whip up in minutes. They look impressive, taste amazing, and don’t require a culinary degree to nail. So next time you want something fancy-but-not-fussy, grab some berries, melt some chocolate, and dip your way to happiness. IMO, you’ll be surprised how quickly you’ll reach for them again and again. FYI, you might even start making them for every small win in life—because yes, victory deserves a chocolate kiss.